Installation
Using npm:
npm install --save react-native-videoor using yarn:
yarn add react-native-videoThen follow the instructions for your platform to link react-native-video into your project.
Specific Platform Installation
iOS
iOS
Standard Method
Run pod install in the ios directory of your project.
⚠️ From version 6.0.0, the minimum iOS version required is 13.0. For more information, see the updating section.
Enable Custom Features in the Podfile
Sample configurations are available in the sample app. See the sample pod file (opens in a new tab).
Video Caching
To enable video caching, add the following line to your Podfile: (more info here)
# Enable Video Caching
$RNVideoUseVideoCaching=true
Google IMA
Google IMA is the SDK for client-side ads integration. See the Google documentation (opens in a new tab) for more details.
To enable Google IMA, add the following line to your Podfile:
$RNVideoUseGoogleIMA=trueIf you are using Expo, you can use the Expo plugin.
Android
Android
From version >= 6.0.0, your application must use Kotlin version >= 1.8.0.
buildscript {
    ...
    ext.kotlinVersion = '1.8.0'
    ext.compileSdkVersion = 34
    ext.targetSdkVersion = 34
    ...
}
Enable Custom Features in the Gradle File
If you are using Expo, you can use the Expo plugin.
You can enable or disable the following features by setting the corresponding variables in your android/build.gradle file:
useExoplayerIMA- Enable Google IMA SDK (ads support)useExoplayerRtsp- Enable RTSP supportuseExoplayerSmoothStreaming- Enable SmoothStreaming supportuseExoplayerDash- Enable Dash supportuseExoplayerHls- Enable HLS support
Each enabled feature increases the APK size, so only enable what you need.
By default, the enabled features are:
useExoplayerSmoothStreaminguseExoplayerDashuseExoplayerHls
Example:
buildscript {
  ext {
    ...
    useExoplayerIMA = true
    useExoplayerRtsp = true
    useExoplayerSmoothStreaming = true
    useExoplayerDash = true
    useExoplayerHls = true
    ...
  }
}
See the sample app (opens in a new tab).
Windows
Windows
Autolinking
React Native Windows 0.63 and above
Autolinking should automatically add react-native-video to your app.
Manual Linking
React Native Windows 0.62
Make the following manual additions:
windows\myapp.sln
Add the ReactNativeVideoCPP project to your solution:
- Open your solution in Visual Studio 2019.
- Right-click the Solution icon in Solution Explorer > Add > Existing Project...
- Select
node_modules\react-native-video\windows\ReactNativeVideoCPP\ReactNativeVideoCPP.vcxproj.
windows\myapp\myapp.vcxproj
Add a reference to ReactNativeVideoCPP to your main application project:
- Open your solution in Visual Studio 2019.
- Right-click the main application project > Add > Reference...
- Check ReactNativeVideoCPP from Solution Projects.
pch.h
Add:
#include "winrt/ReactNativeVideoCPP.h"app.cpp
Add:
PackageProviders().Append(winrt::ReactNativeVideoCPP::ReactPackageProvider());before InitializeComponent();.
React Native Windows 0.61 and below
Follow the manual linking steps for React Native Windows 0.62, but use ReactNativeVideoCPP61 instead of ReactNativeVideoCPP.
tvOS
tvOS
react-native link react-native-video does not work properly with the tvOS target, so the library must be added manually.
Steps:
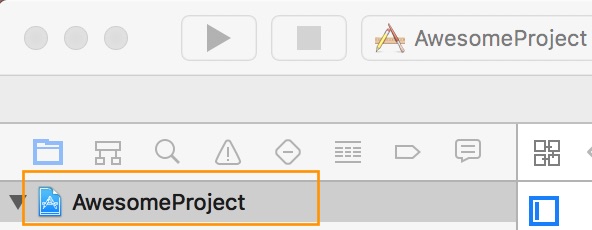
-
Select your project in Xcode.
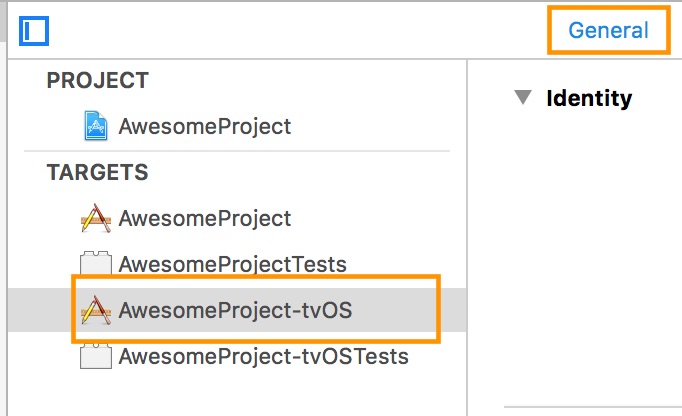
-
Select the tvOS target of your application and open the "General" tab.
-
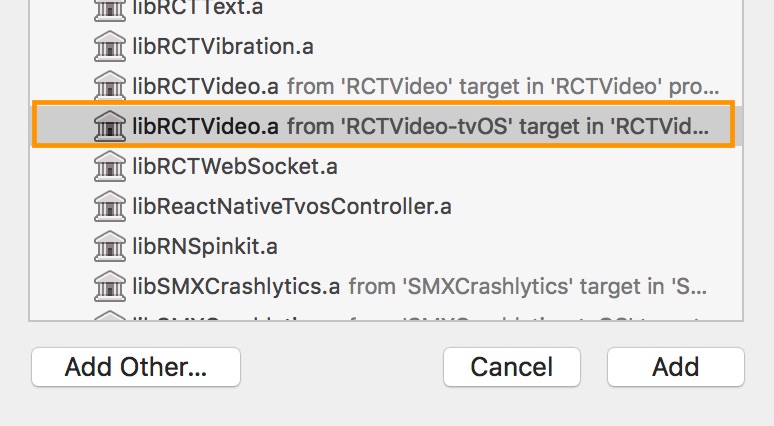
Scroll to "Linked Frameworks and Libraries" and click the
+button.
-
Select
RCTVideo-tvOS.